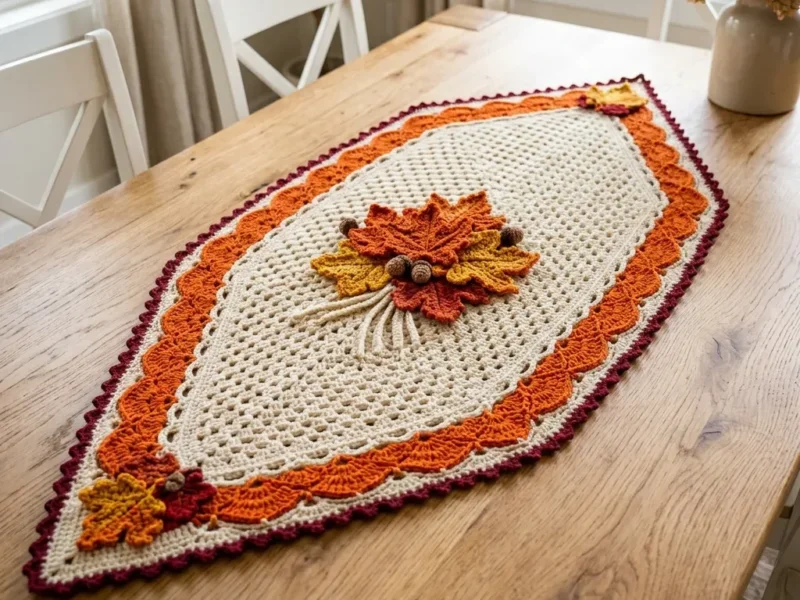
Free Pattern
Step-by-Step
Crochet
Home DecorSunny Petal Granny Square: A Beginner-Friendly Flower Motif
Learn to crochet a flower square with this easy beginner pattern featuring simple rounds, a fun color change, and pretty petal shaping for cozy blankets.
Level BeginnerTime 1-2 HoursYarn Worsted
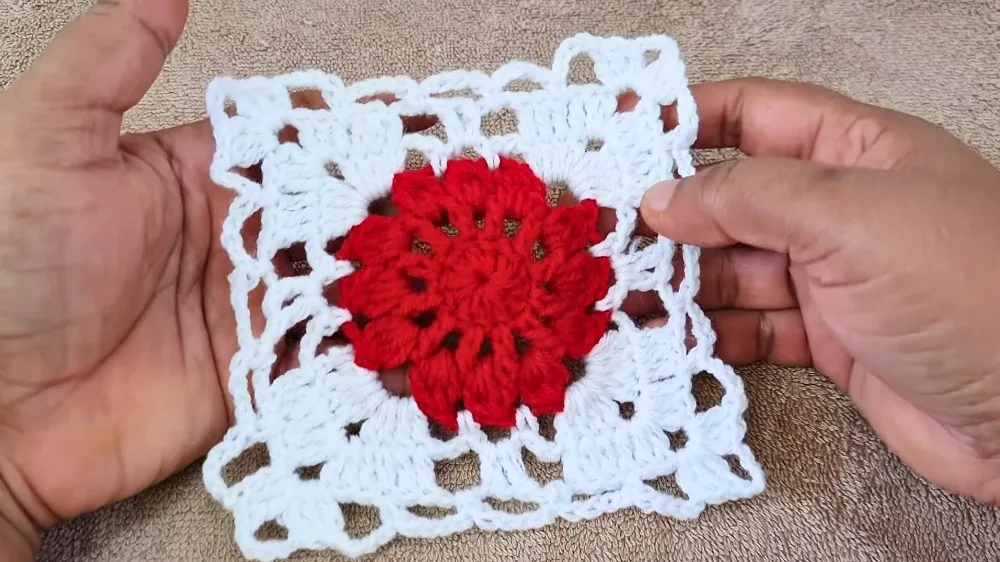
Pattern highlights
- Start with a slip knot, chain four, and join the chain into a ring to form the center for your flower.
- Work the first petal round directly into the ring to establish your base stitches.
- Build up the second petal round on top of the first, letting the layered petals take shape.
- Complete the third petal round to finish the raised, textured flower center.
- Work the corners and sides of the shaping round to square off the motif.
- Fasten off and weave in both color tails securely on the back of the square.
- Gently block the finished square flat so it's ready to join with others or use on its own.
About This Pattern
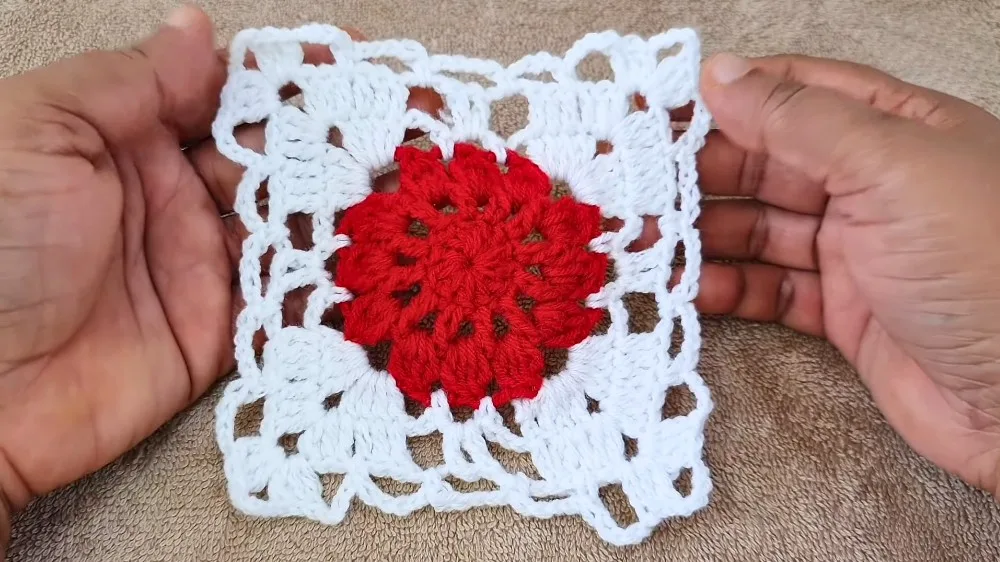
This Flower Square pattern takes the classic granny square and gives it a fresh, blooming makeover. Instead of the usual clusters, you'll build a sweet layered flower right in the center before squaring off the edges, creating a motif that's equally at home in a patchwork blanket, a table topper, or a stack of coordinating coasters. It's the kind of project that looks far more impressive than the effort it actually takes, which makes it a favorite for crocheters who want a quick confidence boost.
You'll only need to know a handful of core techniques here: joining a chain into a foundation ring, building up simple petal stitches in rounds, and joining a new color cleanly to shape the corners. Because the pattern is just a few rounds total — three to build the petals, one to add the new color, one to square it off, and one to add the border — it comes together fast, even if you're still getting comfortable with counting stitches and rounds.
The finished square is a compact, tidy motif with a raised, textured flower blooming from its center and neat corners ready for joining. It has that handmade charm that photographs beautifully in a pile of squares waiting to be seamed together, and it makes a genuinely thoughtful gift — whether you hand someone a single flower coaster or a whole blanket stitched from dozens of these little blooms.
Variations
The beauty of this Flower Square is how much personality you can pack into just two colors. For a classic garden look, try a butter-yellow center petal color with a leafy green shaping round, or go bold with a hot pink flower framed in crisp white for a modern, graphic feel. If you're making a whole blanket, pick one flower color and cycle through 6-8 different shaping-round colors across your squares — it keeps a cohesive look while making every motif feel unique. Yarn-wise, this pattern is worked in a 4-ply woolen yarn, but it also looks lovely in any similar 4-ply weight cotton or acrylic; a light worsted-adjacent wool, a smooth 4-ply cotton, or a soft acrylic all give crisp, well-defined stitches for the petals. If you want a softer, more heirloom feel, swap in a 4-ply weight cotton-acrylic blend. To size up, simply add a second shaping round in a third color before joining — work it the same way as the first shaping round, just repeating the corner and side pattern once more around the outside, which will noticeably increase both the square's dimensions and its border thickness. To size down for coasters or appliqués, stop after the third flower round and skip the shaping round entirely, then work a simple single crochet border in your accent color instead. For themed variations, try deep orange and brown for a autumn-inspired motif, or icy blue and white for a wintry snowflake-adjacent bloom — same construction, totally different mood.
I adore this pattern because it takes something as simple as a granny square and turns it into a tiny piece of art. Starting the flower with a simple chain-four ring feels so satisfying — you close it with a slip stitch and suddenly you've got a perfect little center with no gap to hide. Working the three rounds of petals is where the magic happens; each round builds naturally on the last, and by round three you can already see the flower taking shape without any complicated stitch counting. Then comes my favorite part: adding the new color for the shaping round. That single color swap instantly transforms the piece from 'flower' to 'flower square,' framing your bloom in fresh contrast and squaring off the edges so it's ready to join with others. It's such a small technique, but it delivers a big payoff. I also love that this pattern doesn't demand a huge time commitment — you can finish a square during a lunch break or while catching up on a show, and still feel like you made something genuinely pretty. It's endlessly repeatable too, which is dangerous in the best way once you start.
Common mistakes
- Not pulling the starting chain ring
- Make sure the slip stitch that joins the chain-four into a ring is pulled fully snug before you start round two, and check from the front that no gap remains at the center.
- Losing track of which round you're
- Place a stitch marker in the first stitch of every new round and move it up each time, so you always have a visual anchor for where a round starts and ends.
- Joining the new color for the shaping
- Drop the old color, pull up a loop of the new color in the last stitch of round three, and leave a few inches of tail on both colors to weave in securely once the square is fully finished.
- Working the shaping round too tightly
- Keep your tension relaxed on this round especially at the corner stitches, and lay the square flat periodically to check that it's staying square rather than curling or puckering.
- Mismatching stitch counts between petal
- Count your stitches at the end of each of the three petal rounds before starting the next one, and rip back to fix any discrepancy rather than pushing forward.
- Skipping a gentle blocking step
- Pin the finished square to size on a blocking board, mist it lightly with water, and let it dry flat so all your squares end up a matching, uniform size for seaming.
Beginner
Progress Tracker
0 of 0 rounds
Tap a round to tick it off — your place is saved on this device.
Materials
- 4-ply woolen yarn in two colors (one for the flower, one for the shaping round and border)
- Size 4 crochet hook
Rounds and Petals
Foundation Ring The tutorial starts with a slip knot, followed by chaining four stitches. The last chain is then connected to the first one to form a circle.
- Round 1Begin by chaining three, then work double crochets into the circle. Close out the round by joining the final double crochet to the very first one.
- Round 2For this round, chain five to start, then place a double crochet in the next stitch. Keep repeating double crochets with two chains between each one all the way around.
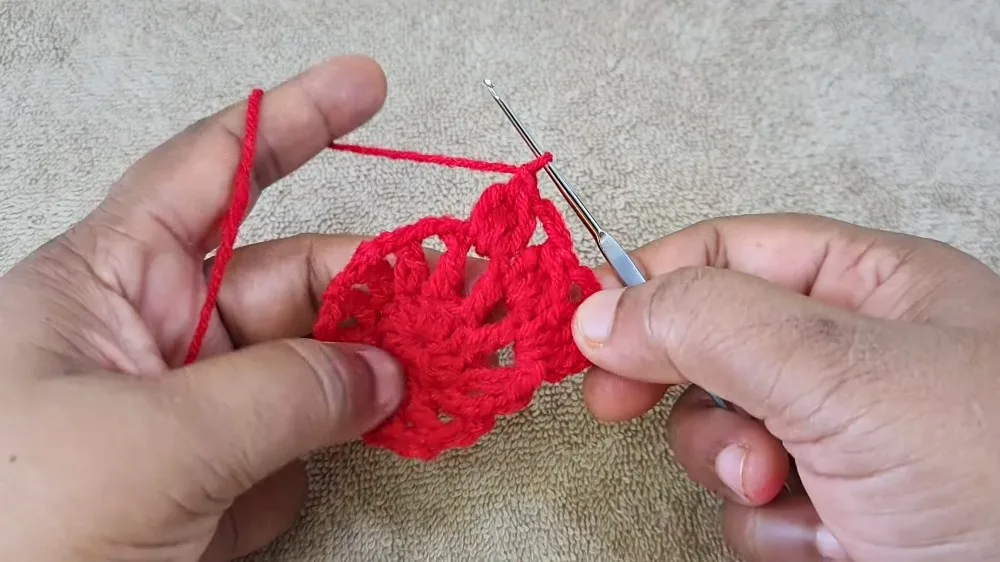
- Round 3(Creating Petals): Work puff stitches into the two-chain spaces from the round before. You'll make three puff stitches with two chains between them, then follow with a five-chain space.
Adding a New Color and Shaping
- Round 4(Color Change): Join a new yarn color into one of the five-chain spaces. Build a sequence of double crochets and chains within these spaces to start forming the flower's shape.
- Round 5(Squaring): Here's where the flower transforms into a square. Work double crochets and chains around, using a special corner pattern at each corner to create the squared-off shape.
Assembly
- Step 1Final Round: The last round involves creating a decorative border. You will work a shell of double crochets and chains in the corner spaces and then chain five and slip stitch along the sides to complete the border.
- Step 2Final Step: After completing the final round, you’ll join the last stitch to the first and weave in the loose ends to finish the project.
Important notes
💡 Use a hook one size smaller than the yarn label recommends if your petal rounds feel loose — a slightly tighter gauge keeps the flower texture crisp and well-defined.
💡 Keep a small note of your row counts nearby; because this pattern is only a few rounds total, it's easy to lose your place if you set it down mid-round.
💡 When adding the new color for the shaping round, work over the tail of the old color for a few stitches to save yourself extra weaving-in later.
💡 Make several squares before deciding on a final color palette — flower and shaping-round colors can look surprisingly different once they're sitting side by side in a full project.
💡 If you're joining squares into a blanket, work all your shaping rounds in the same yarn brand and weight so the border thickness and gauge stay consistent across every motif.
💡 Store finished squares flat rather than folded while you build up a stack for joining, so the shaping round corners don't develop a permanent crease.
More photos
FAQ
What yarn weight works best for this Flower Square pattern?
A 4-ply woolen yarn gives the cleanest stitch definition for the petal rounds and shaping round, though similar-weight cotton or acrylic will also work well depending on whether you want a crisper or softer finish.
How many of these squares do I need for a blanket?
That depends entirely on your finished square size and desired blanket dimensions, so measure one completed square first and calculate from there. A lap blanket typically needs several dozen squares, while a full-size blanket will need considerably more.
My flower center has a hole in it — how do I fix it?
This almost always means the starting chain ring wasn't joined tightly enough before you began round two. Undo back to the start, re-chain your foundation ring, and pull the slip stitch join fully snug before working your first round of stitches into it.
Is this pattern really beginner-friendly?
Yes — it only uses basic stitches, a simple chain-ring start, and one straightforward color change, worked over a handful of easy rounds. If you can work a standard granny square, you'll pick up the flower shaping very quickly.