Free Pattern
Step-by-Step
Crochet
Home DecorA sunny sunflower crochet pot that never needs watering
A stitched sunflower pot built with magic rings, careful increases, and a wired stem.
- Level
- Intermediate
- Time
- 4-6 hours
- Hook
- 3.5 mm
- Yarn
- Worsted
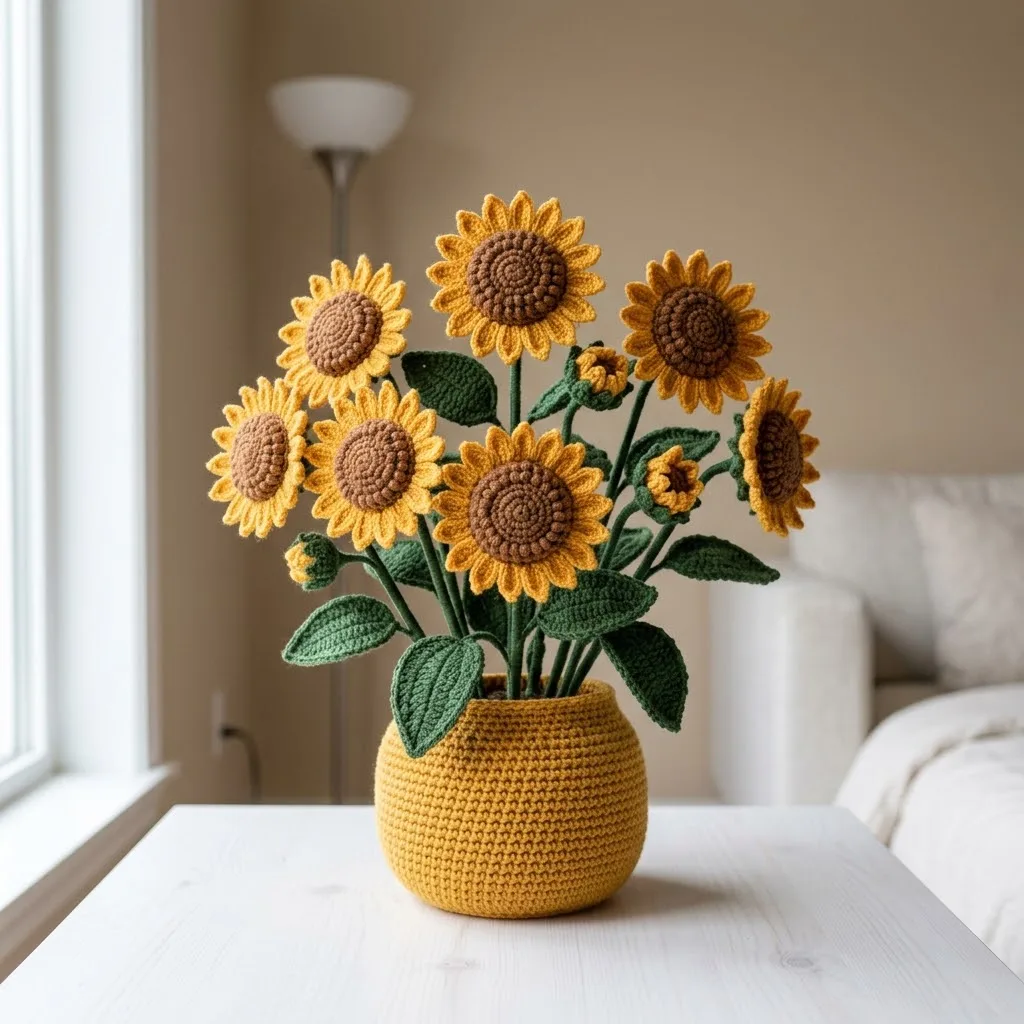
Pattern highlights
- Start the base with a magic ring and build it outward through a series of increase rounds.
- Shift to the sides, using back loops once to form a crisp edge at the rim's base.
- Work plain single crochet rounds upward, pausing twice more to widen the pot with increase rounds.
- Stuff the bottom of the pot firmly before finishing, so it has weight and stands on its own.
- Crochet the sunflower petals separately, repeating the petal shape enough times to fill out the center.
- Build the brown center and green leaves, then thread floral wire through the stems for support.
- Assemble the flower on its stem and set it into the finished pot.
About This Pattern
A crochet flowerpot sits at an odd angle in my notebook. It isn't quite amigurumi. It isn't quite home decor either. I keep coming back to pieces like this. They turn basic stitches into something sculptural. This sunflower pot earns its place next to the plush toys and the cardigans. It proves a stitch count chart can still surprise you, round by round.
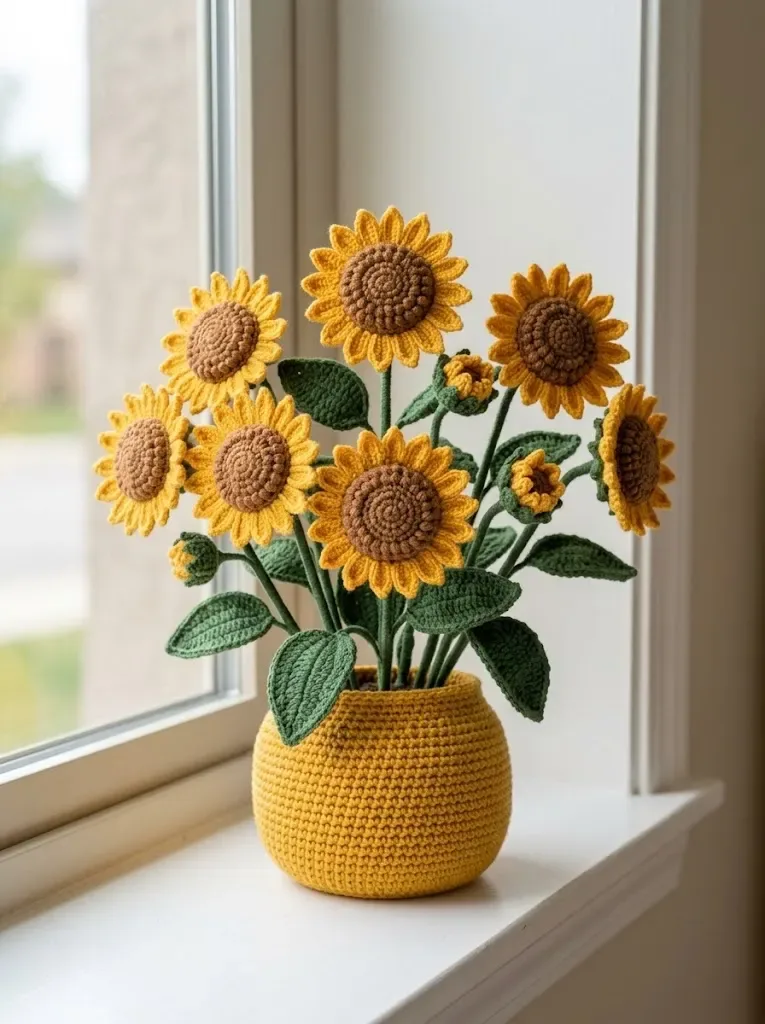
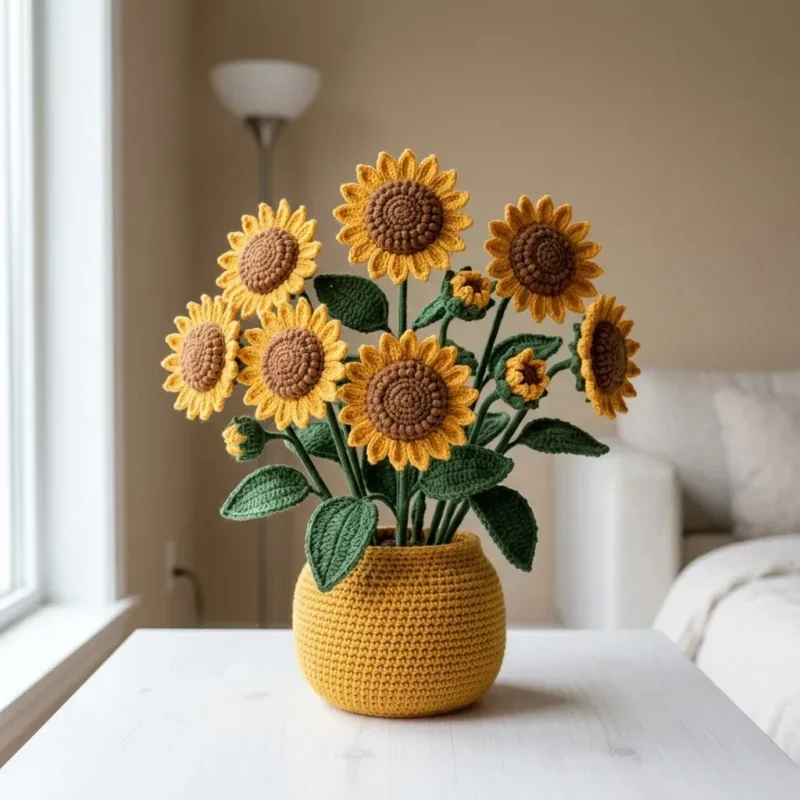
Finished, this is a potted sunflower that never wilts. Golden and light yellow petals layer around a brown center. Green leaves and wired stems give it posture on a shelf. The mustard pot anchors the whole thing with its own stitched weight. It's the kind of piece that looks complicated from across a room. Up close, it's just circles, increases, and patience.
Worth knowing
What I like about this one is the pot itself. Rounds nine through eleven do something small but satisfying. Back loops only, then both loops, and suddenly there's a defined rim. The base grows by a predictable six stitches a round, the way any flat circle does. It keeps widening until it's sturdy enough to hold weight. Two more increase rounds widen the sides before a long stretch of plain single crochet builds height. The petals are the fun part. Twelve to eighteen of them, each one a small, repeatable unit. Stuffing the base with fiberfill gives the finished pot actual heft. That's rare in amigurumi, and worth noting.
Common mistakes
- Skipping the BLO round One round on the sides is worked in back loops only. Miss it and the pot loses its crisp edge.
- Uneven petal count Petals repeat twelve to eighteen times depending on center size, so count as you go. Guessing leads to gaps or crowding.
- Wire gauge too flimsy 18 gauge floral wire is specified for a reason; thinner wire won't hold the stems upright. Cut a full length rather than piecing wire together.
- Underfilling the pot base A loosely stuffed base makes the pot top-heavy and tippy. Pack fiberfill firmly, especially in the first few rounds.
Intermediate
Progress Tracker
0 of 0 rounds
Tap a round to tick it off — your place is saved on this device.
The kit
Worsted weight yarn (weight 4) in the following colors
- Golden yellow for petals, approximately 150 yards
- Light yellow for smaller petals, approximately 75 yards
- Brown for flower centers, approximately 100 yards
- Green for stems and leaves, approximately 200 yards
- Mustard or dark gold for the pot, approximately 125 yards
Hook
- 3.5mm (E/4) crochet hook for most components
- 4mm (G/6) crochet hook for the pot
Additional Supplies
- Floral wire (18 gauge) for stems
- Fiberfill stuffing for flower centers and pot base
- Yarn needle for weaving ends and assembly
- Stitch marker
- Wire cutters
- Green floral tape (optional but recommended)
Base
Round 1Create a magic ring. Work 6 sc into the ring. (6 sts)
Round 2Inc in each st around. (12 sts)
Round 3*Sc in next st, inc in next st* repeat around. (18 sts)
Round 4*Sc in next 2 sts, inc in next st* repeat around. (24 sts)
Round 5*Sc in next 3 sts, inc in next st* repeat around. (30 sts)
Round 6*Sc in next 4 sts, inc in next st* repeat around. (36 sts)
Round 7*Sc in next 5 sts, inc in next st* repeat around. (42 sts)
Round 8*Sc in next 6 sts, inc in next st* repeat around. (48 sts)
Sides
Round 9through 11: Sc in BLO for Round 9 only, then in both loops for Rounds 10 and 11. This creates the crisp edge at the bottom of the pot. (48 sts each round)(48)
Round 12*Sc in next 7 sts, inc in next st* repeat around. (54 sts)
Round 13through 18: Sc in each st around. (54 sts)
Round 19*Sc in next 8 sts, inc in next st* repeat around. (60 sts)
Round 20through 24: Sc in each st around. (60 sts) Fasten off and weave in ends. Stuff the bottom of the pot firmly with fiberfill to provide weight and stability.
Hook
3.5mm (E/4) crochet hook for most components 4mm (G/6) crochet hook for the pot
Petal (repeat 12 to 18 times around, depending on center size)
*Ch 8, sl st in 2nd ch from hook, sc in next ch, hdc in next 2 ch, dc in next 2 ch, hdc in next ch, sl st in next st on center*
Continue working petals around until you return to the starting point. For larger centers, you may need up to 18 petals. For smaller centers, 12 petals works well.
Fasten off and weave in ends.
Tip for beginners:
Count your center stitches before starting petals. Divide by the number of petals you want, and space them evenly. If you have 36 stitches and want 18 petals, work one petal every 2 stitches.
From the collection
Finishing
- Weave in every end before stuffing, since the inside of a finished pot is hard to reach.
- Pack fiberfill into the base firmly so the pot has enough weight to sit flat.
- Fasten off the sides once the final round is done, then set the stuffed pot aside while the flower is assembled.
Why it works
The base rounds increase by six stitches each time, the standard math for a flat circle worked in single crochet.
One round in the sides works in back loops only, sandwiched between rounds worked in both loops, which produces the pot's crisp bottom edge.
The sides widen only twice after the base, then run flat for several rounds, shaping a pot that's wider at the top than the bottom.
What it becomes
- A desk accent that doesn't need watering, sitting well next to books or a pen cup.
- A gift for someone who loves flowers but kills real ones; pairs with other amigurumi on a shelf.
- A practice piece for increases, BLO edges, and wire-stemmed petals, useful before tackling bigger amigurumi florals.
Original pattern: https://crochr.com/sunny-sunflower-crochet-pot-free-crochet-pattern/
FAQ
Why does the pattern call for two different hook sizes?
The smaller 3.5mm hook keeps the petals, center, and leaves tight and well-defined. The larger 4mm hook on the pot gives looser, sturdier fabric that holds its shape under the stuffing.
Can I skip the floral wire in the stems?
I wouldn't. Without wire, the stems have no backbone and the flower will flop instead of standing upright in the pot.
Why so much yarn for the pot compared to the petals?
The pot is worked in continuous single crochet rounds that grow wider and taller, which simply uses more yardage than the smaller petal pieces.
Does it matter if I use cotton or acrylic?
Cotton or a cotton blend gives the clearest stitch definition, which matters on a piece with this many increase rounds. Acrylic works too, just a touch softer.