Free Pattern
Step-by-Step
Crochet
Bags & PouchesTextured crochet pouch with a front post stitch panel
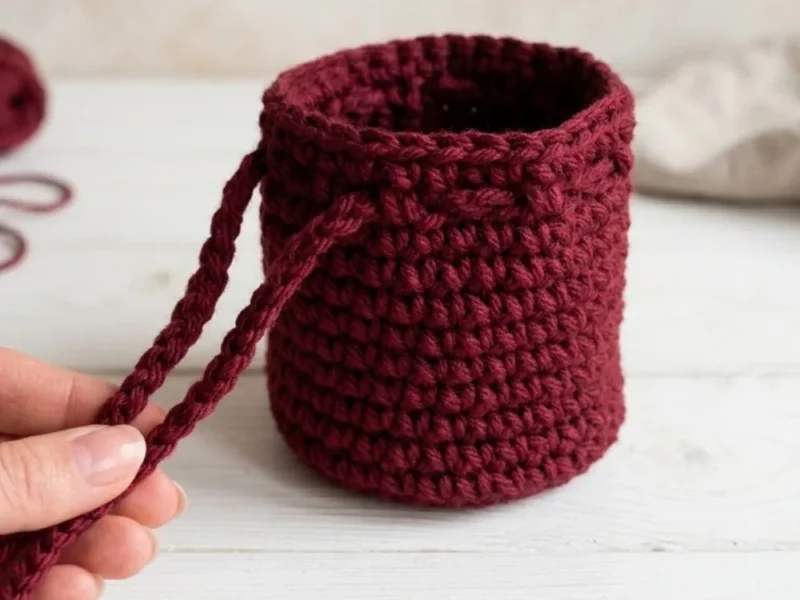
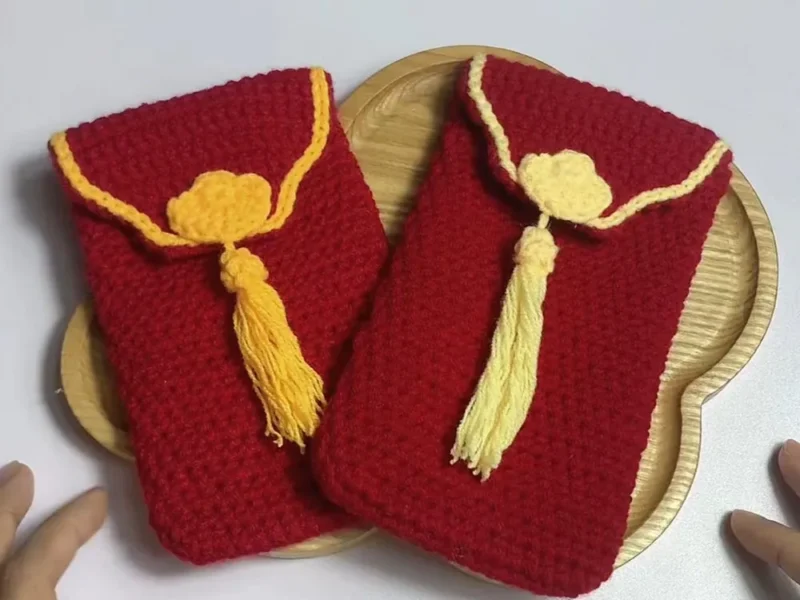
A flat crochet panel folded into a textured pouch with front post stitch ridges.
- Level
- Confident Beginner
- Time
- 4-6 hours
- Hook
- 4 mm
- Yarn
- Worsted
Pattern highlights
- Chain a foundation row and work single crochet across the first two rows to set the base.
- Work the front post double crochet rows, placing the post stitches at regular intervals across the row.
- Continue the stitch pattern upward until the panel reaches the planned length.
- Fold the panel in half and seam the side edges to form the pouch body.
- Work a row of single crochet around the flap edge, then join and fasten off.
- Attach a button or fabric loop closure to finish the flap.
About This Pattern
This one belongs in the drawer of small, useful makes. Not a showpiece, not a toy. It is the kind of project I reach for when I want progress I can see fast. One flat panel, folded once, and suddenly it is a pouch. Nothing about it demands patience I do not have on a Tuesday night.
The texture does the talking here. Rows of plain single crochet and double crochet set the fabric, then front post double crochet pushes up in vertical ridges across the surface. No special stitch dictionary required, just one post stitch repeated with intent. I like that the raised look comes from repetition, not difficulty.
The finished piece is a rectangular pouch, roughly 7 by 5 inches once folded and seamed. It is sized for hooks, pens, cables, or the small jewelry that otherwise vanishes into a bag. A button or fabric loop closes the flap. Cotton gives it enough body to hold its shape without stuffing.
Gauge works out to about 18 single crochet stitches and 20 rows per 4 inches (10 cm), so it is worth swatching first. A tighter tension gives a sturdier pouch, while a looser tension gives a softer fabric with more drape.
Neutral yarn shades or soft vintage-inspired colors suit the handmade, timeless feel of this pouch best, though swapping in a contrasting color for the textured rows creates a nice striped effect if you want more contrast.
Worth knowing
I like projects that teach one trick and let me practice it. Front post double crochet is that trick here. It is simple to execute but changes the entire character of the fabric, turning flat rows into something with ridges and shadow. The construction stays honest too: a rectangle worked flat, folded, and seamed, with no shaping to track. That means I can watch television and still get sts right. The reward is a textured surface that looks more deliberate than the stitch count suggests. For a confident beginner, this is a good place to feel competent rather than just finished.
Common mistakes
- Uneven edges Count stitches at the end of every row to maintain the 33-stitch panel.
- Loose seams Use a firm sewing method and avoid pulling yarn too tightly.
- Texture not showing Check that front post stitches are worked around the correct stitch posts.
- Pouch feels floppy Try a smaller hook size or a firmer cotton yarn.
- Skipping the gauge check Before changing yarn weight or hook size, remember that adjustments will affect the finished measurements. Always check your gauge when creating a pouch intended to hold specific items.
Confident Beginner
Progress Tracker
0 of 0 rounds
Tap a round to tick it off — your place is saved on this device.
The kit
- Medium weight cotton or cotton-blend yarn, approximately 180 yards (165 meters)
- 4 mm (US G/6) crochet hook
- Yarn needle
- Scissors
- Stitch markers
Optional
- small button or fabric loop closure
Main Pattern
The pouch begins as one flat rectangle. The bottom section becomes the front and back panels after folding. Rows are turned after each row. Turning chains do not count as stitches.
Foundation RowCh 34.(34)
Row 1Sc in second ch from hook and across. Turn. (33 sts)
Row 2Ch 1, sc across. Turn. (33 sts)
Row 3Ch 2, dc across. Turn. (33 sts)
Row 4Ch 2, dc across. Turn. (33 sts)
Row 5Ch 2, dc in first 3 sts, fpdc around next stitch, *dc in next 3 sts, fpdc around next stitch; repeat from * across until 3 sts remain, dc in last 3 sts. Turn. (33 sts)
Row 6Ch 2, dc across. Turn. (33 sts)
Rows 7–18Repeat Rows 5 and 6 six more times. End with Row 6. (33 sts)
Rows 19–22Ch 1, sc across each row. Turn after each row. (33 sts)
The completed rectangle should measure approximately 10 inches (25 cm) long and 7 inches (18 cm) wide.
Special Stitch
Front Post Double Crochet (fpdc): Yarn over, insert the hook from front to back around the post of the indicated stitch, then complete a double crochet stitch normally. This creates a raised vertical texture.
Edging and Closure
Attach yarn at one corner of the flap.
Work sc evenly around the flap edges.
Join with a sl st.
Fasten off and weave in ends.
Add a button or create a small crochet loop if desired.
Assembly
Step 1Fold the bottom half of the rectangle upward, leaving approximately 2 inches (5 cm) of the top section uncovered as a flap.
Step 2Align both side edges evenly.
Step 3Using matching yarn and a yarn needle, whip stitch or mattress stitch both sides closed.
Step 4Turn the pouch right side out.
Finishing
- Weave in all loose ends along the inside seams where they will not show.
- Fold the panel and seam the sides to form the pouch body before adding edging.
- Attach the button or fabric loop closure last, once the flap edging is complete.
- Light blocking helps relax the stitches and gives the pouch a neat handmade appearance. Place the finished pouch between damp towels, gently shape it to the desired dimensions, and allow it to dry completely.
- long-lasting use, hand wash or gently machine wash according to the yarn label instructions. Allow the pouch to air dry flat to help maintain its shape.
Why it works
The panel is worked flat in turned rows, which keeps the fpdc columns aligned vertically as the fabric grows.
Front post stitches are spaced every few stitches across the row, so the ridges repeat at even intervals rather than clustering.
The sl st join on the edging closes the round at the flap, giving it a clean, finished perimeter instead of a visible seam.
To resize, adjust the foundation chain while keeping the stitch pattern balanced: add chains in multiples of 4 plus 1 for a wider pouch, add more textured stitch sections before the border for a taller pouch, or shorten the starting chain and number of rows for a mini version.
What it becomes
- A hook and notions case to keep a current project organized inside a project bag.
- A small cosmetics pouch for a bathroom shelf or a weekend travel bag.
- A charging cable and earbud pouch to toss in a backpack or desk drawer.
Original pattern: https://duniarecipe.com/25-photo-scrapbook-ideas-for-creating-a-beautiful-memory-journal/
FAQ
Why does the pattern recommend cotton over acrylic?
Cotton creates a firmer fabric that holds the pouch's shape without extra support. Acrylic will work too, but the source notes it makes a lighter, less structured result.
Is front post double crochet hard to learn?
Not really, it is one of the more approachable post stitches. You are just working around the post of a stitch instead of into its top loops, then completing a normal double crochet.
How do I make the pouch bigger or smaller?
The notes say to adjust the foundation chain for width, keeping the stitch pattern balanced across the row. Add or remove rows to change the height before folding.